Saturday, August 31, 2013

Our Backyard Garden

I thought I'd document our garden we have in the yard before harvesting soon.


It's not a large garden but we're just learning.  We expanded actually.  Last year there was only a rectangle. This year we added a square which now makes it a V-Like garden bed.  The garden bed itself was super simple to make.  They're just cedar 2x4's and some simple brackets.

 Actually, I should give credit, where credit is due.  My husband has the green thumb.  This garden is really his initiative.  Me and my taste-buds are along for the ride.  I am learning along the way too.  I planted the carrots so that I can cross off "grow my own food" from my bucket list.

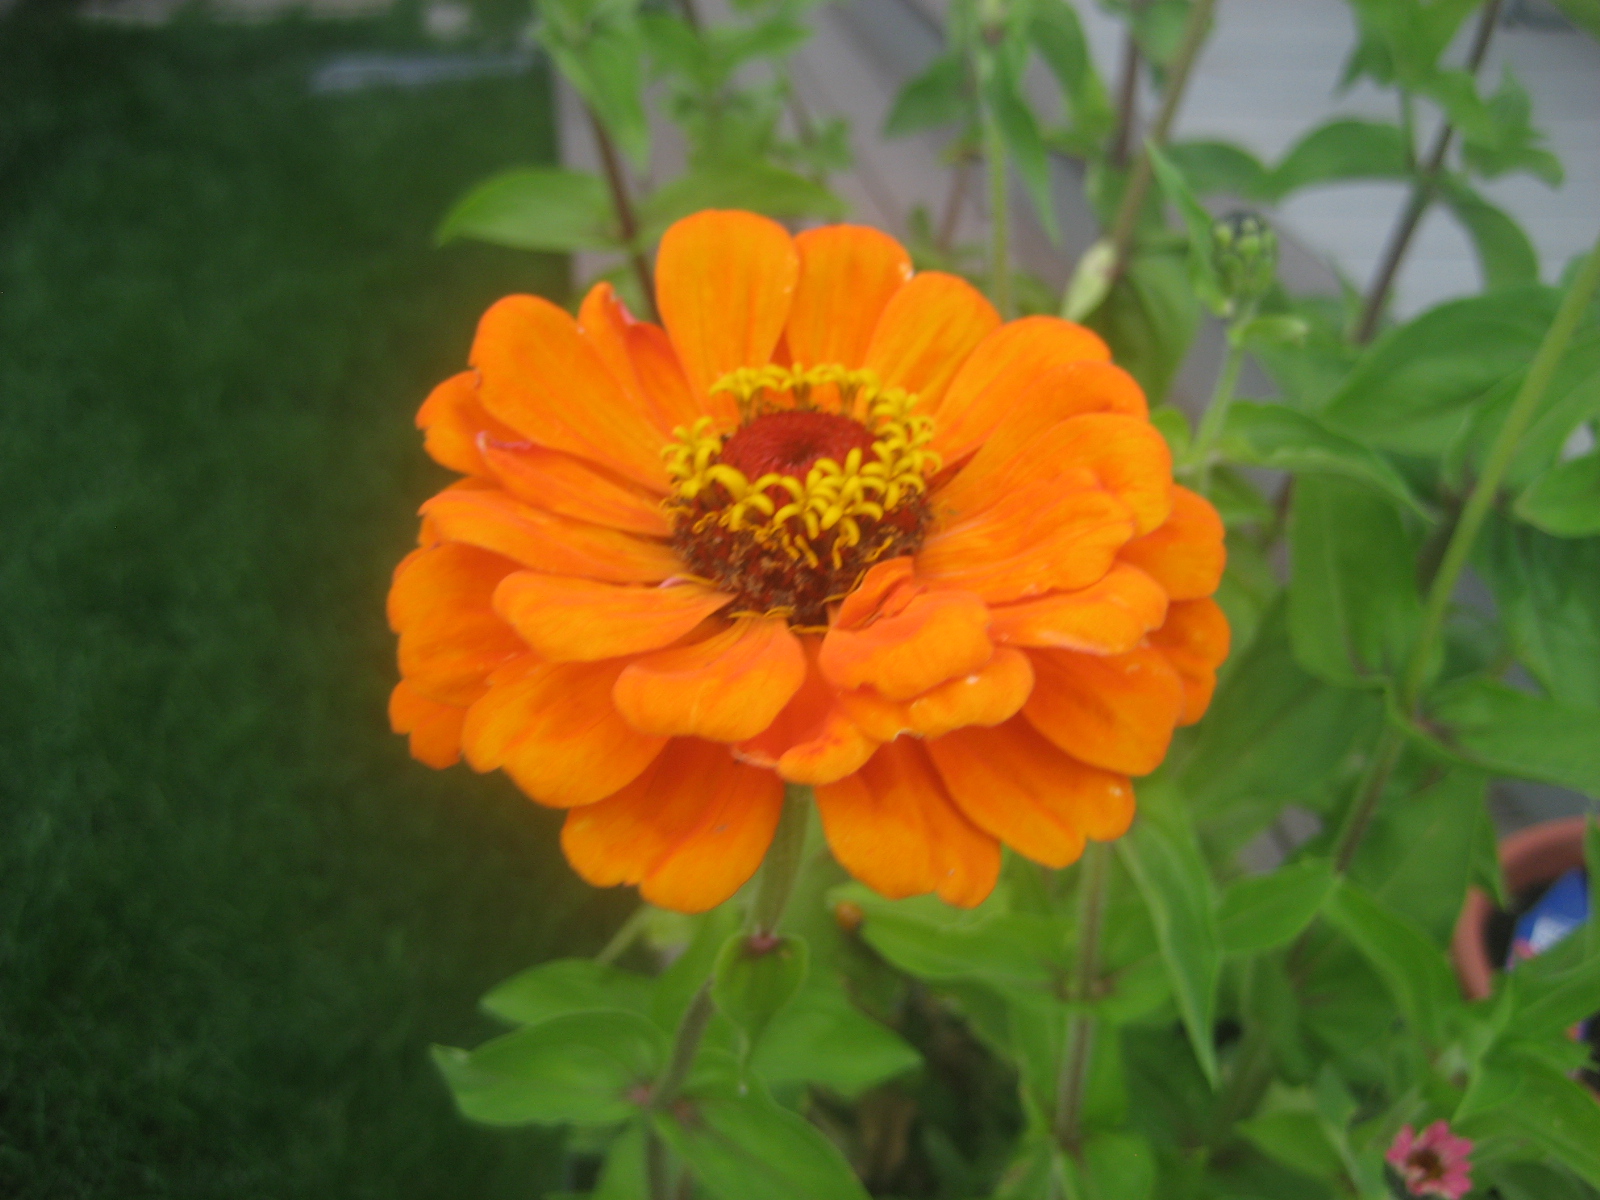
Here's the close-ups:


Loose leaf lettuce.  We've been getting a lot from this.  In fact some of the lettuce we bought from the store went bad because I really didn't need it due to all this foliage.  I must remember not to buy veges from the grocery store that we're growing already.  


Our lone cucumber.  Last year we had a good crop.  This year though half the plant died and this is the only one.  Oh well, it's something at least.


Jalepeno Peppers.  We have many of these.  Can't wait to make some burgers with these bad boys.


Green Peppers.  We have a couple plants with a few peppers growing.  They're so cute aren't they?


Ahhh Carrots.  So delicious and crunchy.  Last year's crop was so little and small.  This year we've had so many.  And they're big.  See the big gaping holes from some being pillaged already?


Yup, some crunchy goodness right there. 


Our broccoli didn't turn out.  As you can see.  It bolted due to the heat, right along with our spinach.  The spinach grew so tall we had to uproot them.  I think we'll plant them later on in the season?


This is the view from the back.  We have plenty of tomatoes growing too.


 And then on the corner of our deck we have some lovely flowers to enjoy.


That's it.  We've had a great summer here.  

Blessings,
Christina

Saturday, August 24, 2013

No-Cost Yearly Planner

Hi All,

I keep a year-at-a-glance planner in my purse.  Yet I rarely use it.  You see, I don't go out much.  I'm a homebody and prefer a low-key life.  Nope, no play dates planned for the kids, no weekly social gatherings, not much of anything going on really.  So it's no wonder I rarely used a planner on-the-go.  I don't really need to keep track of appointments etc.  'cause, well, my life is rather subdued.

But that might all change this September (since I'm no longer homeschooling).  I'll need to keep track of kids birthday parties, swim lessons, special school events and such.  For that I will need a planner-on-the-go so that I don't overbook.  I've searched for something to my taste.  I've seen plenty of pretty outside covers but I really don't need all that space to write in for daily to-do's. I have another system for that which I will post about later.  I like seeing the whole month-at-a-glance but I also want space for goal setting.  I haven't come across what I'm looking for so I set about to make my own.  And I did for zero dollars.  That's right, nada moolah.  That $30 I spent last year for my rarely-used planner was such a waste.

Here is my no-cost planner.


What I used.

-Cardboard for cover (cereal boxes work great for this)
-Scrapbook paper to cover if you'd like
-Calendar pages
-Hairband and button (optional) 
-3 binder rings, key rings or even yarn (not pictured)


If you chose to use the button closure, then staple the hair band to the back.  I made sure the staples went through the hole of the hairband as well as on because if it is just on the hair band it may slip out with use.


 Next, glue the paper to the cover.


Next, hole punch your papers and cover, sew on your button and put in your rings.

As you can see from the next photo there is room on the left to plan any goals or projects you have for that week as well as room for any monthly goals (projects) you may have.


Here is the link for all of my calendar pages that you can print off for your own goal-setting monthly-calendar planner. Calendar Pages (Print page 1 when prompted, I don't know why there is an extra little bit on page 2, sorry about that)


There you have it.  Your very own zero-cost planner.  Plan away.

Blessings,
Christina

Sunday, August 18, 2013

Non-Wobbly Ikea Copycat bench

Okay, since my last post I've been working on the Ikea copycat bench.  I am happy to announce it is not wobbly anymore.  Even my kids say "ooohhh it doesn't wobble anymore".

All it needed was an added brace.  In order to do that I had to cut an inch from each of the three cleats.  I also wasn't pleased with the spacing of the boards for the seat so I amended them too.

So here is the new and improved bench.


You can see the added support on the back.  It also makes it look more complete.


The spacing is even.  Woohooo!


I've made amendments to the supply list in the last post.

Now I think St. Joesph would be pleased.  Off to figure out what colour to stain.  Hmmmmm.

Blessings,
Christina


Sunday, August 11, 2013

Ikea Kitchen Bench Copycat

Hi All,

I built something.  With wood.  Yup, me with tools.  If anyone had been watching me fumbling around, and revving my drill, they got an eye-full.  Hilarity at its finest.

But we needed a bench and the one from Ikea would have been too big for our table and $120, I DONT THINK SO.  So I decided to build our own for $10.

I based the design off of the Ikea Norden bench:

(link)


These are the pieces I used:

(amendments are made in red to add further support)


For two of the cleats, the bottom brace and the braces I Kreg jigged them using my mini Kreg jig.  Then it was just a matter of assembly.


I don't know whether to be joyful or totally ashamed.  There are so many crooked areas, the gaps aren't even and I didn't have the right screws for the top and used drywall screws.

It's my first build and I learned a lot on the way.  I learned that a mitre saw might need to be in my future (I used a primitive method called ....a saw), a kreg jig is a cool little jig, measure, measure, measure and I also learned that building is fun!

One more look.


Now I can get more than two tushies on one side of the table.


Amendment:  Since building this I've decided "totally ashamed" should be what I'm feeling. Saint Joseph would not be proud. The wobbliness is due to lack of support and a couple more braces should be added.  I will fill you in once the new and improved bench is made and stained. 

(Updated bench post found in this post)

Blessings,
Christina

Sunday, August 4, 2013

It's All in the Bag

Hi All,

Let me give you the run down on the evolution of my purse.  When I was a teen and BK (before kids) I used to carry a fanny pack!  A fanny pack!

But it was over one shoulder across my chest like the cool kids wore it, okay people.

Next I moved on to an over the shoulder little purse I found on the side of the road.  It just sounds like it's getting worse doesn't it?

After that I had kids, so of course I used the free diaper bags and backpacks Nestle sent in the mail.  When I realized you really don't need a diaper bag and can use a purse, I bought one from WalMart.  Oh ya, moving on up.

After discovering that the quality sucks big time (big surprise there) I thought "What if I bought one from a REAL store?  One that specializes in bags?"  So off to Bently I went.

It worked....For awhile.  It was cute, but the lining was horrible.  I've lost many things in the abyss between the lining and the outer purse.  So disappointing.  More money doesn't always mean better quality.

I had it.  I guess I just had to make a new purse myself!  I found this great free pattern and a video to boot, from Anna Maria's collaboration site with Janome.


Technically it's a bag, a tote bag to be precise but it's works and is adorable.  It's makes me happy just looking at it.

The only difference from the pattern is, I added pockets. I sewed it to the lining before I sewed everything together like so:


Now everything has it's place, just like I like it, and need it. The only thing I wished I'd done was interface the pockets.  They're a little floppy.


There you have it.  The latest in the evolution of my purse.  It's evolved into a masterpiece if I may say so myself.


Blessings,
Christina

Related Posts Plugin for WordPress, Blogger...