Sunday, November 2, 2014

Four years in the Making

About four years ago I started this little gem.  Four years! I finally finished it last night and laid it on my sleeping daughter to surprise her in the morning when she woke up.


It was my first time working with triangles, and after cutting some of them wonky, I stalled.  For three years!  Then this past summer I resolved to finish this quilt THIS year.  I fixed the wonky triangles and finished cutting up the rest of the fabric I set aside.


Then, when I laid everything out I realized I made a whopper in miscalculation.  I intended on zigzagging the entire quilt horizontally but I came up short.  I realized I only had enough zigzags that got me half-way down the quilt.


I flipped it 180 and made a big border around what I had instead.  Since this was for my oldest I had her pick out the fabric for the border. I'm glad for the pattern on the border as it hides all the puckers where the fabric gathered as I sewed.
 
Once the top was pieced, then sandwiched, I echo-quilted every other zigzag, and some straight lines on the borders.

Well it's done, and I'm glad.  I've realized I'm a small project kinda gal.  I prefer something that can be finished from start to finish in like 5 hours tops.

A pretty loud quilt huh?


Now I need to go and finish that quilt I started for my son three years ago... 

Noticing a pattern here?

Blessings,
Christina

Friday, October 17, 2014

Scripture Organizer

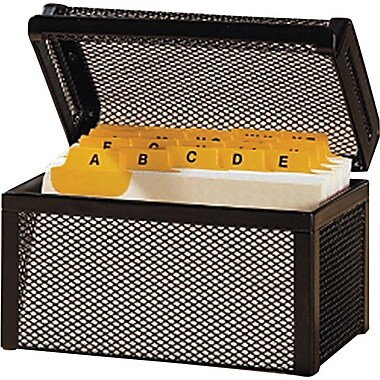
So I've been memorizing scripture for a while now.  I went and bought this black mesh index card holder from Staples a couple years ago.  


I tried decorating it with colourful scrapbook brads.  Then the lid fell off.  And there it sat, on my dresser since.  It was sad looking.  Looking at that sad, dark index box was not inspiring to me.

I kept at memorizing scripture however and I accumulated enough scriptures to organize them "Charlotte Mason style".  This gave me enough motivation to give this little box a makeover.

First step was to spray paint it chrome.  After that dried, I painted the accents pink with acrylic paint free-handed.  Next, I put a final coat of Mod-podge just to give the pink a bit of shine and protection.  Finally, I had my husband glue the lid back on with whatever glue he uses to do that sort of thing.

Now, here it sits on my dresser.  Much better, and more inspiring I'd say.


My daily scripture is in front. And the ones that I know, but are still relatively new are in the Mon-Sat tabs (I take Sunday "off" since I get in a lot of scripture at mass).


The ones that I know pretty well are in the 1-31 tabs.  Right now, I only have enough for 18 but as I learn more they will get filled.  Since the box came with only 12 tabbed cards I made my own with index cards and some Scotch Expression tape.


And the final tab is "To Learn" which is self explanatory.  I also store all the extra cards behind this one.


There you have it.  Each day I review my daily scripture card, the card behind that day of the week, and also the day of the month it is that day.  


Blessings,
Christina


Friday, September 19, 2014

Kitchen Cabinets

Hi All,

This summer I got at least one major project done.  I finally finished painting our kitchen cabinets!  Whew, that was quite a doozy.

I started in June.  And finally finished last week.  No, I have not been painting non-stop since June.  I started in June, with some time off in between.  Since we didn't have a whole lot of room, I decided to break this project into three phases.  It would have been too much to take off ALL the cabinet doors at once.  The major reason being we don't have enough room to do that.  So, due to lack of room, three phases is what it took.

Here's a look at what I started off with:  Basic 90's oak.


I wanted to brighten up the space, but did not what stark white.  I opted for Behr Linen white, and some new hardware. I started with oil-based primer (stinky stuff).

First phase was the top cabinets. Just a note; don't start with the cabinets you see most often, up close and in your face, unless you're a pro and this is not your first go 'round.  I can see all the little flaws in these, that I was able to iron out with a bit of practice.

Progress Pic:


Second phase was the bottom cabinets by the sink and to the left of the stove, after a long reprieve for some family and 10 year wedding anniversary celebrations for my hubby and I.

Sorry, no progress pic for that.

Last was around the fridge and the drawers next to the stove.

Ta Da!:


  Boy am I glad that's over. But I still have three bathroom vanities to get to.  Also that nice oak trim you see around the pantry?  Ya, that has to be painted white.  And I plan on painting ALL the trim in the house.  Let me tell you, that is A LOT of trim.  I'm taking a break for now though. 

One last look.


Some great blogs that explain the process here and here.

Blessings,
Christina

Thursday, September 4, 2014

Kids Back to School Board

Hi All,

Well we're in the first week of school here and to celebrate such an occasion I thought I'd blog about the homework board, or school board I made using two bulletin boards.

Truth be told, I made this last year.  It's just taken me awhile to post it.  It's been working for our family though, so at least you know it works!
   
I started with two plain bulletin boards purchased from the thrift store.  I wanted to attach them so that I will have a bigger board.


So I used some 2 x 1's and cut them to size.  Then Gorilla glued them together.


I then painted it all white to tie it all together.  Ta da!  Now they're attached together, making for a larger board.  Just add some washi tape to jazz it up.


Underneath, I added two metal wall file folders from target for $11 each!  Much better than the plastic ones I was eyeing from Staples.  Now when the kids get home, any notices get pinned to the board so that my fridge isn't cluttered up, and their homework and agendas go in the file folders.


There you have it, a place for any school papers and birthday invites, or anything to do with my children. The fridge is reserved for other papers.


Blessings,
Christina

Tuesday, August 5, 2014

So Close Yet So Far

Hi All,

I'm slowly getting closer to achieving my dream of selling my items at a farmers market.  I've made the major purchase of a white 10 x 10 tent.  Thank God for Kijiji!  Also, I now have my 6' tables.


Left to purchase:

-Hat stands to display totes
-Folding chair x 2
-Small table or bookcase for checkout
-Tissue paper and washi tape to wrap bought products
-Bags to put purchased product in
-Cash box
-Business cards

Left to make:

-Weights for the tent
-Table covers x 2
-Price tags
-Sign that says "cash only"
-10 x the product!!!!

Left to do:

-Get farmer's market liability insurance
-Take pictures of my products
-Apply for market


I feel like I'm 10km into a marathon. Gone so far yet, so far to go.  I'm enjoying the whole process and am so excited that my dream is coming to fruition.

Blessings,
Christina


Monday, July 7, 2014

Vintage Suitcase Redo

Hi All,

Now onto part two of my display props.  Take a glimpse at this beauty:


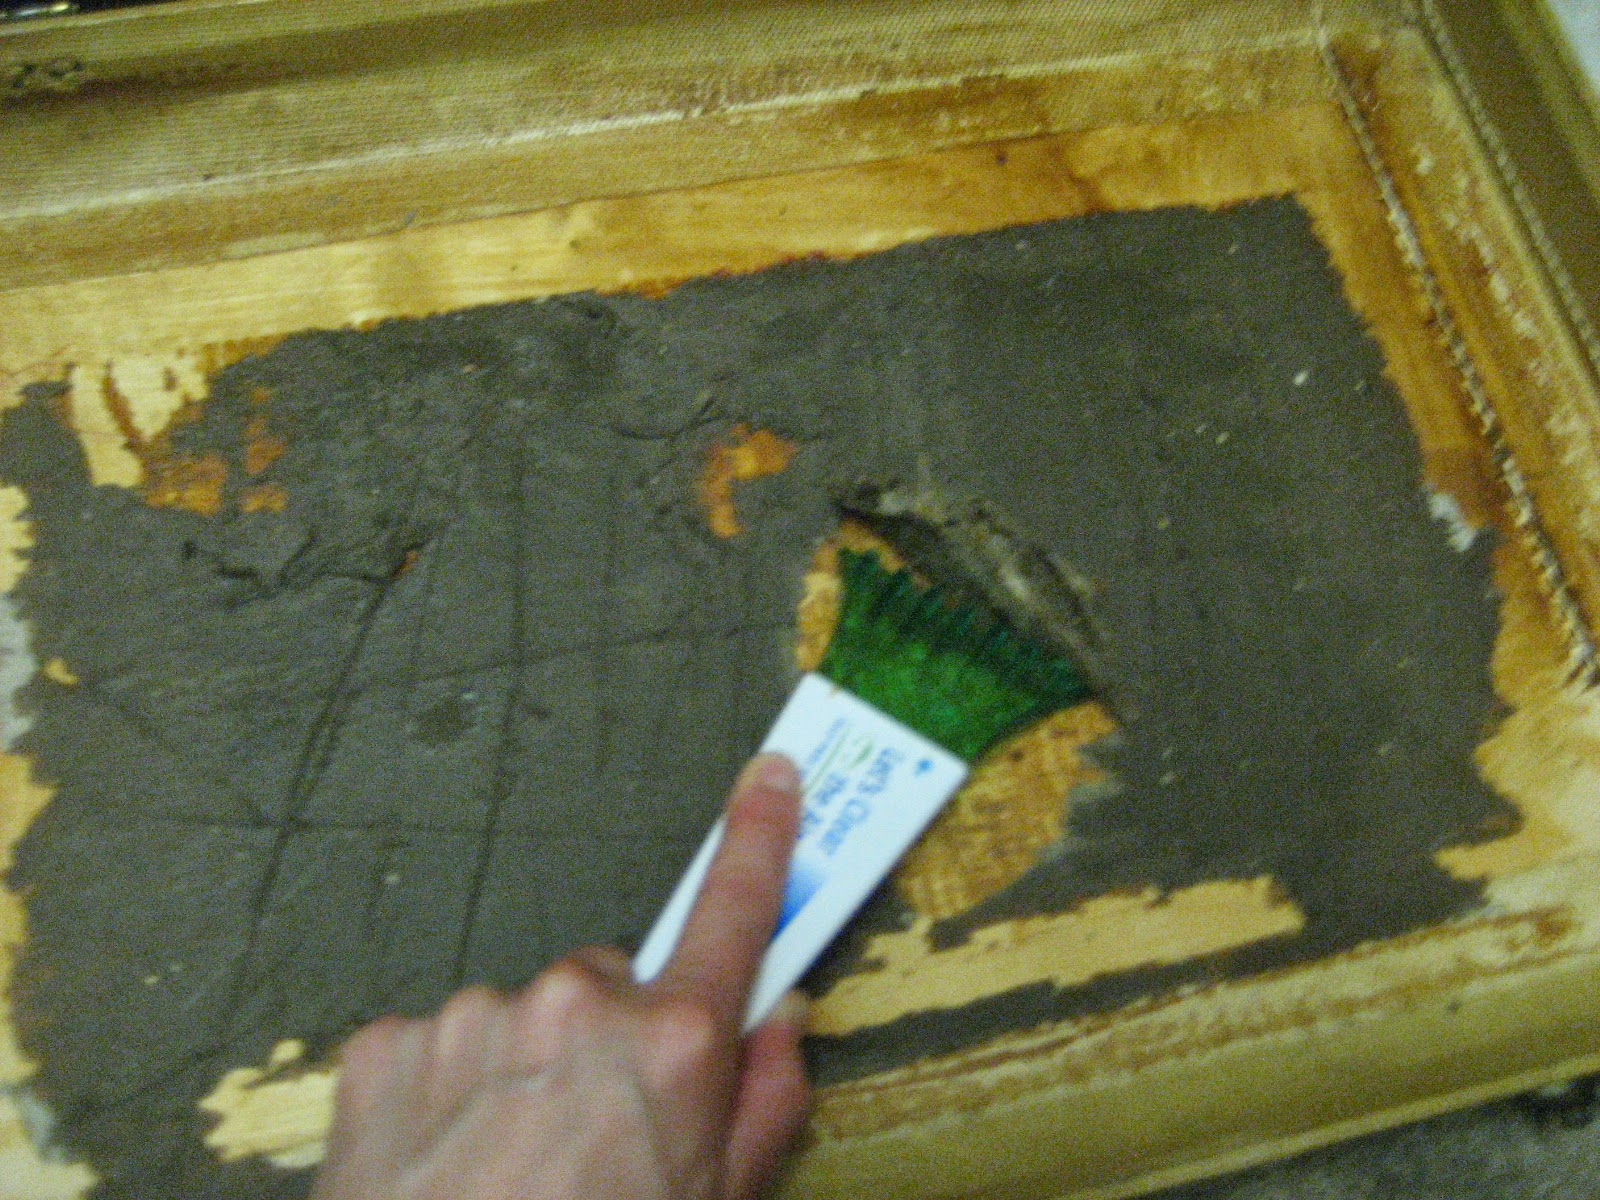
I already stripped the inside of it's maroon silky lining fabric.  And this is what it looked like under that:


It was a real pain to get it clean on the inside.  I tried scraping it with an ice scraper and anything sharp really, which worked a little.


I thought "Hmm, maybe I'll wet it'.  It helped a little.  Then that brown adhesive started to turn all goopy and apple-sauce consistency-like on me.  It was disgusting.  It took awhile to get everything out too.  I got fed up and hosed the thing down in the backyard. Scrape, hose, scrape, hose.

I'd like to show you what it looks like now:


I painted it all white first.  Then the inside got a nice yellow and pink treatment.  The outside is modpodged with a nice fabric from a duvet I got from the thrift store.  

Concerning the metal ware; I should have spray painted that first, then painted everything.  Since I didn't, I thought I could Rub 'n' Buff them silver.  Well Rub 'n' buff is not sold here in Canada (or at least around where I live).  I had some chrome spray paint and I sprayed it into a container and used a paintbrush to brush it on.  I did the same with the handle (white spray paint).  The metal parts and handle are not flawless but anything compared to what it was is an improvement.


A sneak peak into some of my merchandise; pillow and coasters:


Well, that's it for the display props.  Now on to make more merchandise.


Blessings,
Christina


Sunday, July 6, 2014

Display Frame

Hi All,

Wow, a whole month has passed already?  Well, in that month I've been busy working on a couple display items.  They will be used to display some of my merchandise at craft shows. 

Today I'll just show the frame.  It was the ugliest thing I bought for $8 at the thrift store.


How adorable is that kitty?  Yeah, not so.  But now check it out.


I'm going to use it to display some of my hoops on S-hooks, like so:


 Basically to break it down, what I did was, paint it white, then a couple coats of blue paint.  Then I used polyurethane to protect it.  I didn't have the traditional chicken wire, which is what I would have preferred but had this wire stuff.  I cut it to fit, and stapled it.


I screwed a couple Ikea shelf brackets I also found at the thrift store.  In order to make it lean, I screwed it about an inch from the bottom.


And, voila.  That's it for this prop.  I'll be back to share the other prop later. 


Blessings,
Christina


Monday, May 26, 2014

It's a Hard Rug Life

Hi All,

So what do you do when you have a bunch of kids stained and stretched clothing?  You make a rug of course.


I followed this great tutorial.   So with all the clothing I hoarded, I cut up into tiny pieces. 


It was actually quite soothing to cut all those rectangles.  I did this while watching some of my favourite shows.  So although it was time consuming, it was enjoyable.

I then placed the lines as-per-the-tutorial on a blackout curtain backing.  Totally miscalculating how much rectangles I had.


So although I had only enough fabric to make half of what I intended,  I plan on finishing it.  More hoarding in my future I suppose. 


But for now I think I'll keep it a square until I can cut up another 1,400 rectangles.


Now when I look at that rug I see a green dress that my oldest wore until it was stained, or leggings that my girls wore until holes grew bigger in the knees, and a "Daddy's Little Fishing Buddy" tee that my son loved even though we don't fish.

You know you've become consumed by a craft when you walk down the street and see a lady walking by with a colourful top and you think to yourself "Hmm, that would make an excellent rug".


Blessings,
Christina
Make It and Love It
Related Posts Plugin for WordPress, Blogger...